by Vi Burgess, editor-in-chief
Largely because senior year has me drowning in a mountain of homework and various other responsibilities, I wanted to go back to my childhood and build a gingerbread house in the spirit of Christmas. I honestly thought it wouldn’t be that hard; I mean, it’s just cutting out some pieces of gingerbread and icing them together, right?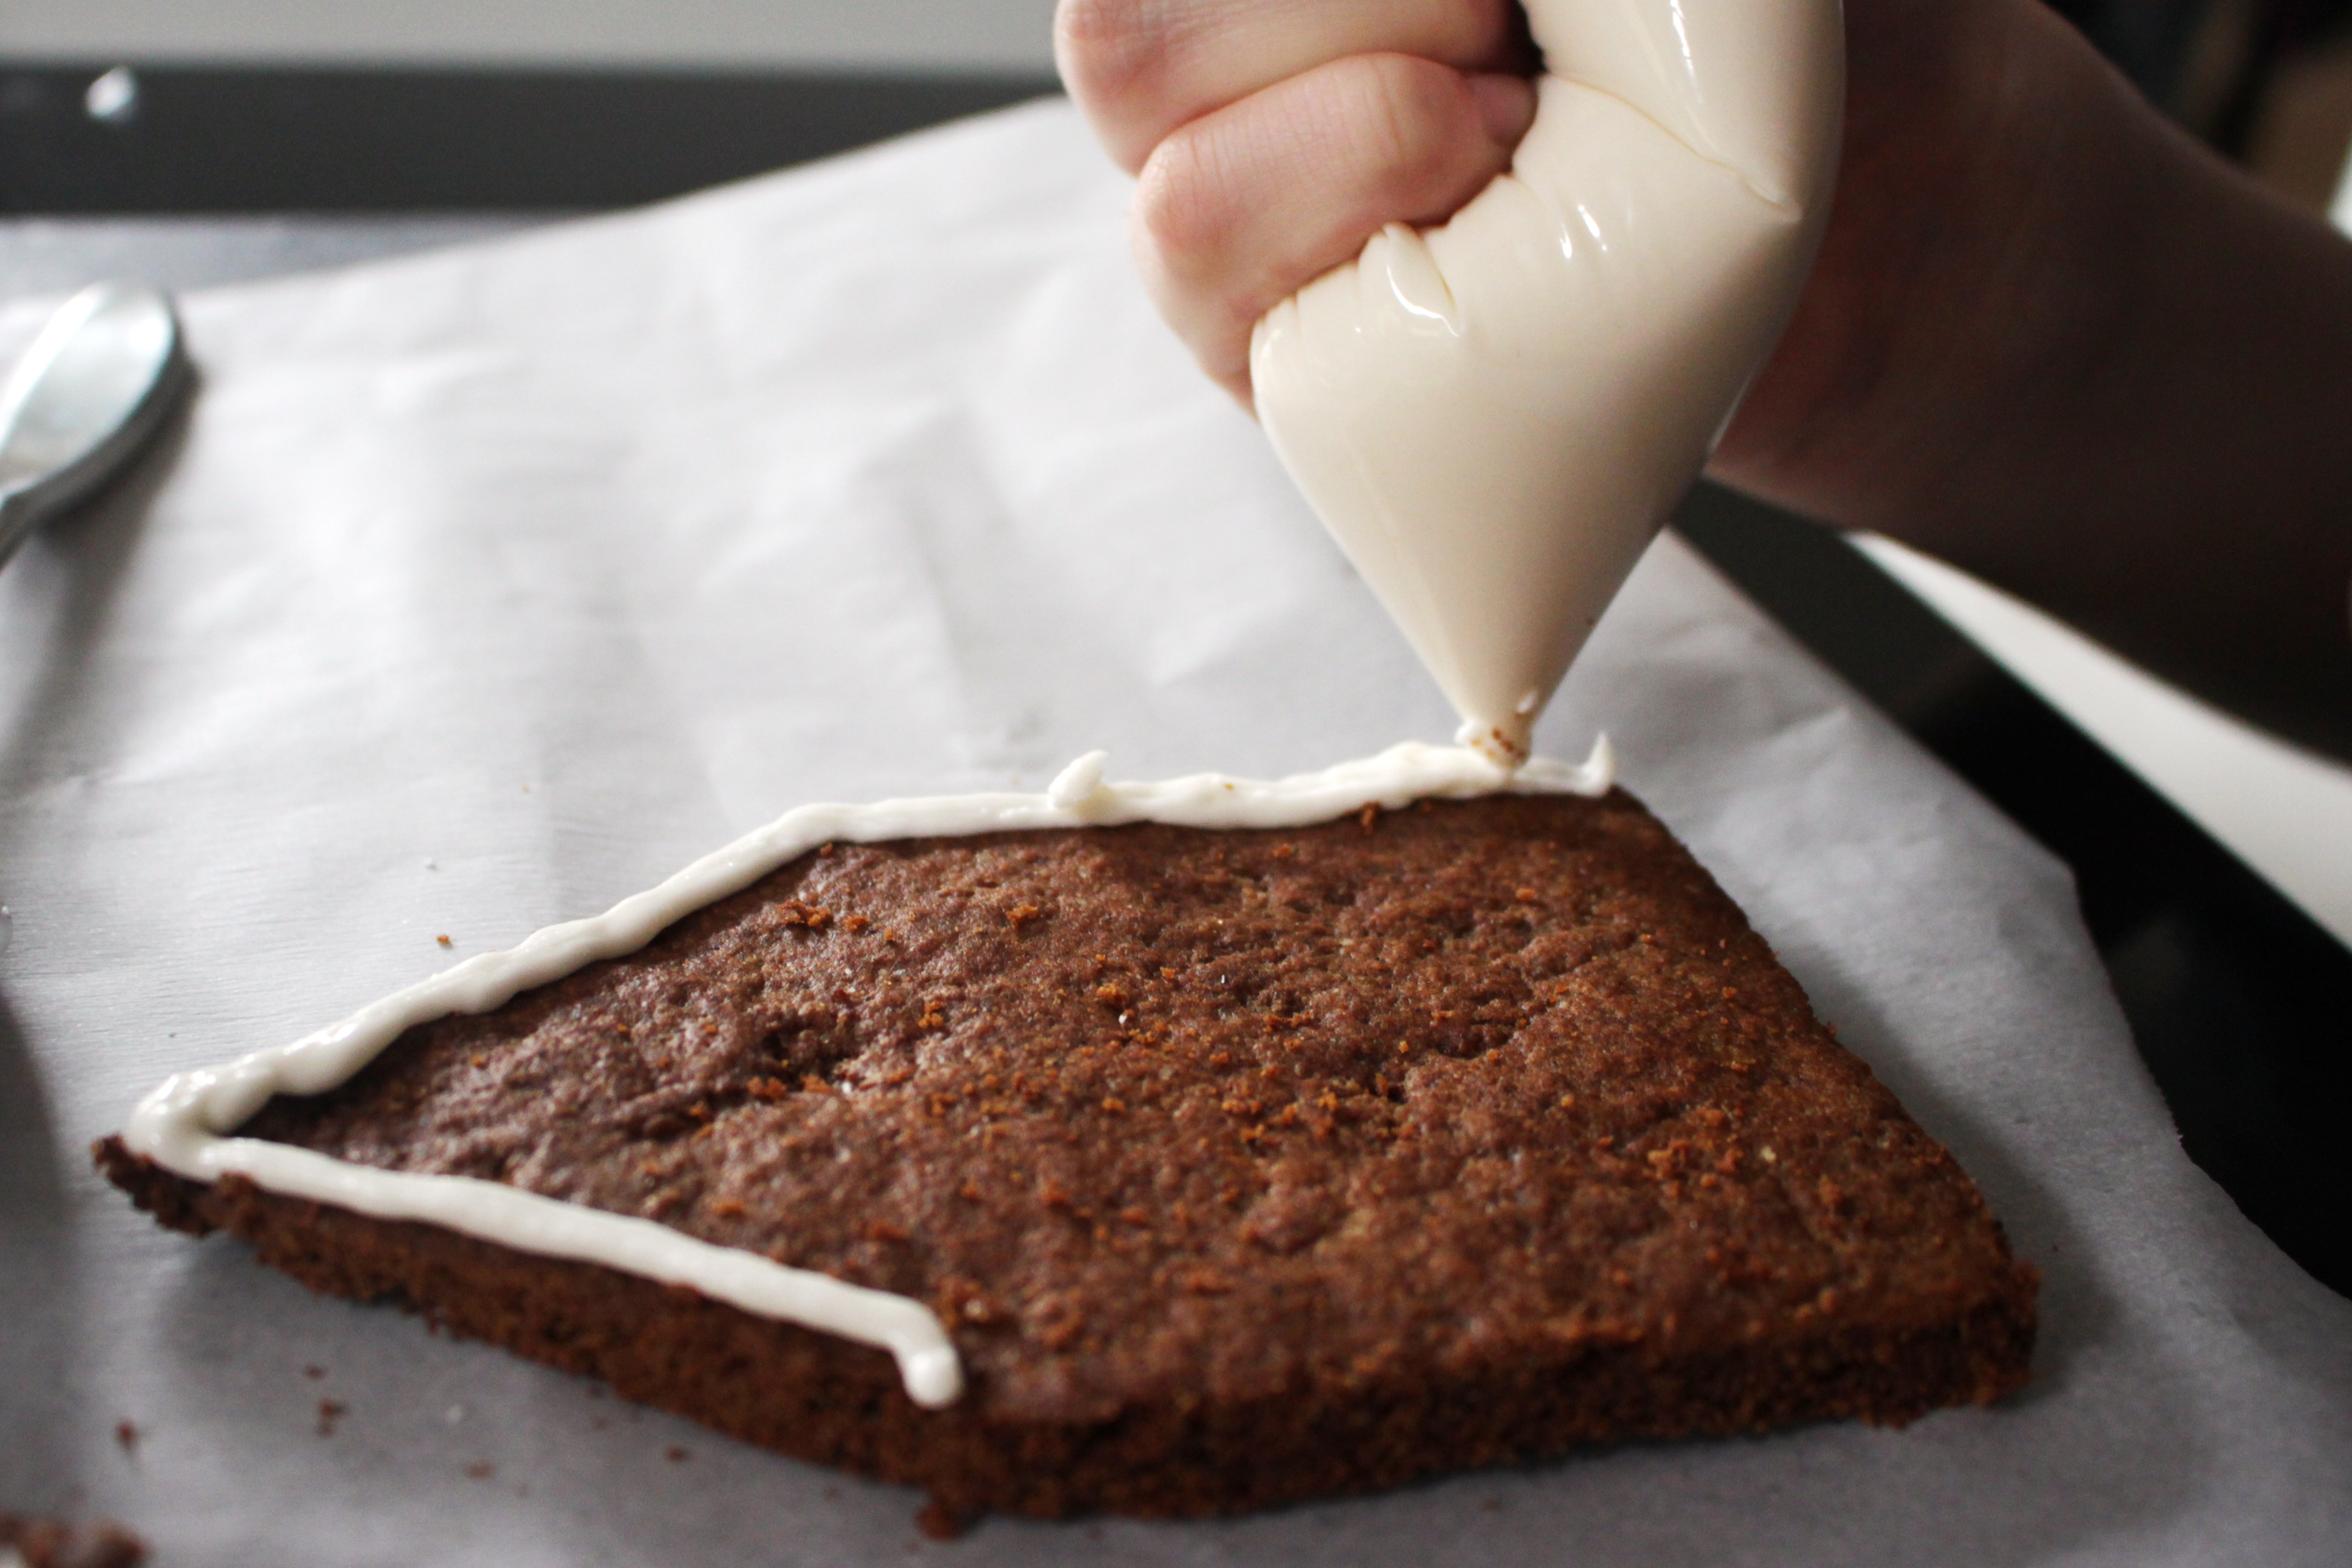
Yeah, so it turns out neither I nor my best friend (helping out, because you actually can’t do this by yourself) will ever be engineers. Or architects. Or even middle school geometry teachers. The gingerbread itself is fairly simple to make and roll out (even if we had to use a water bottle instead of a rolling pin); however, we did have to double the recipe because we couldn’t figure out how to arrange the necessary shapes onto one batch of gingerbread. The recipe required us to cut the shapes both before and after we baked, but we kind of slacked off and only measured once and just traced over it the second time. Don’t do that–you’ll end up with crooked, wobbly edges, like we did!
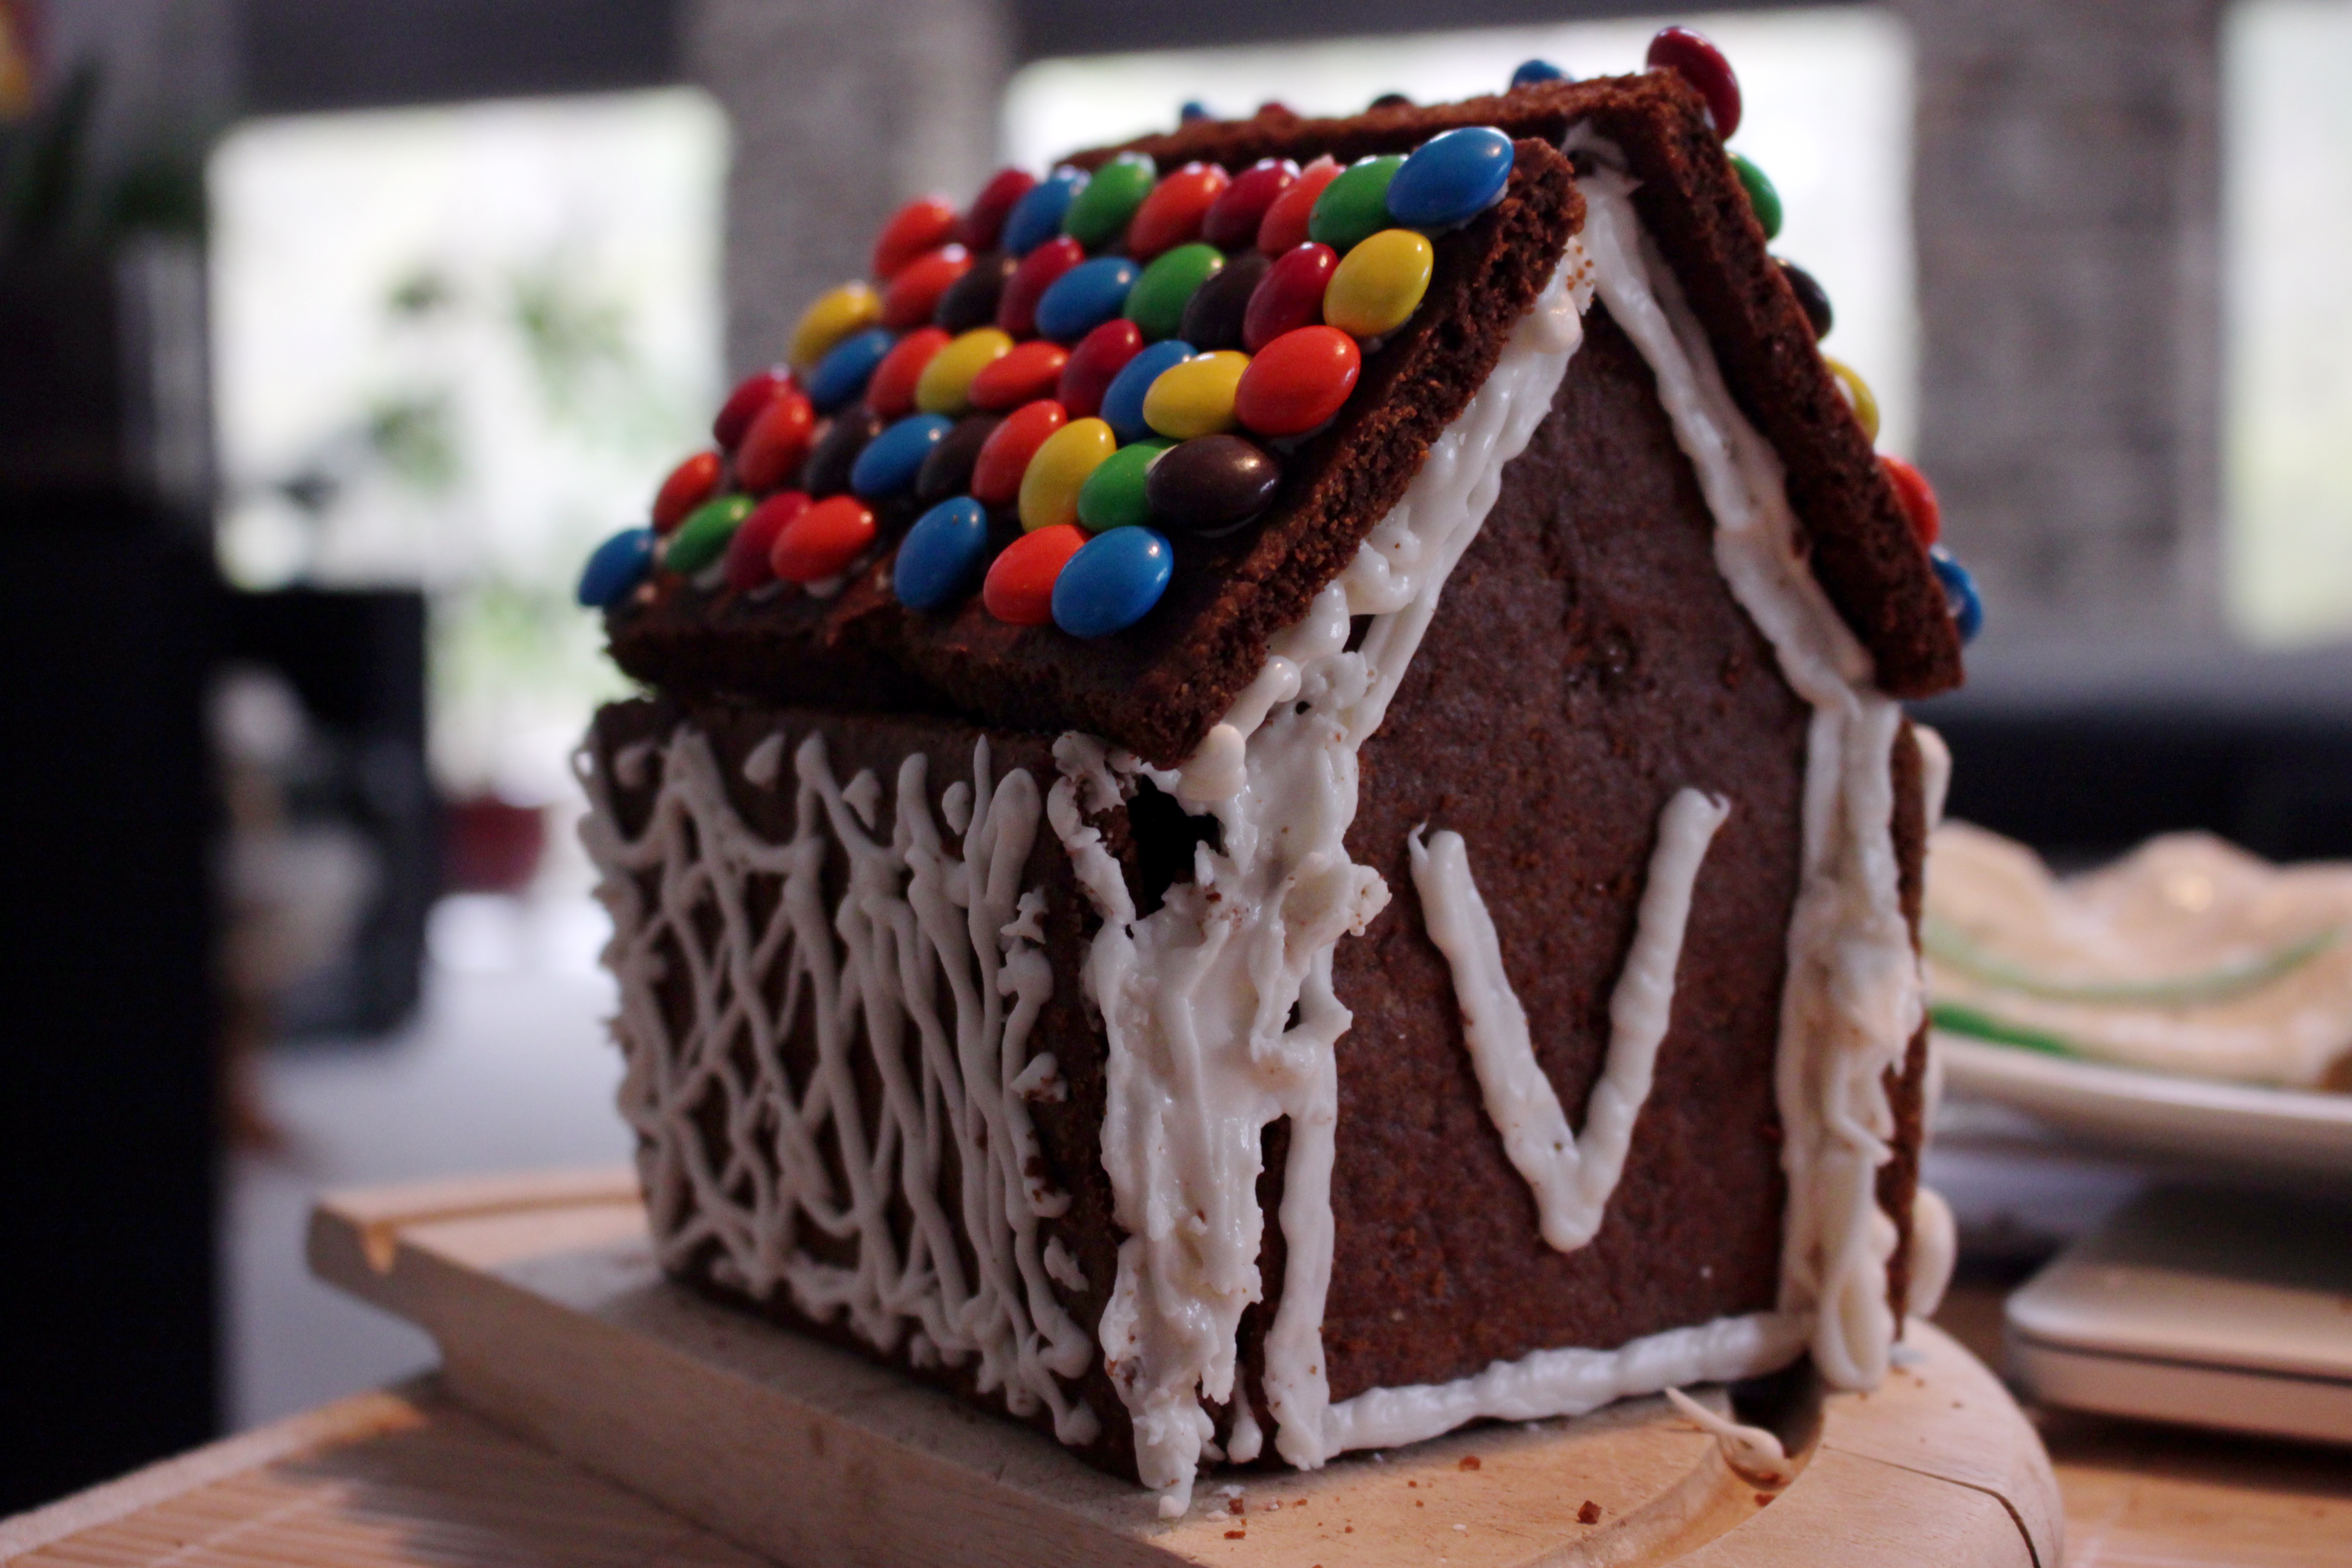
Because we’re both not professional bakers, we weren’t sure exactly how to ice it (or even how to make it look somewhat neat), so we covered it with a lot of icing and candy before we attempted to put it together. This is where you’re going to need four hands: two to ice and two to support the various falling pieces. Unfortunately, even between the two of us and heaping on icing made from an actual, literal POUND of powdered sugar, we couldn’t get the house to stand up for longer than it took for us to snapchat a couple cute photos (hence: precision! above all else!)
 The best part of the whole experience is probably the fact that the recipe provides for so much scrap gingerbread to eat and, if you’re anything like me, way too many types of candy to snack on because you bought about three times as much candy as you needed. Even though our house collapsed, making a gingerbread house for the first time in about ten years was totally worth it.
Recipe from the Food Network:
Ingredients:
1/2 cup (1 stick) butter, at room temperature
1/2 cup dark brown sugar
1/4 cup light molasses or dark corn syrup
1 tablespoon cinnamon
1 tablespoon ground ginger
1 1/2 teaspoons ground cloves
1 teaspoon baking soda
2 cups all-purpose flour
2 tablespoons water
For assemblage and decoration:
Melted white chocolate or Royal Icing (recipe follows)
Gumdrops, licorice and peppermint, as desired
Royal Icing:
1 pound (3-3/4 cups) powdered sugar, sifted if lumpy
1 to 2 large egg whites, or substitute 4 teaspoons packaged egg whites and 1/4 cup water
1 teaspoon almond extract, vanilla or lemon juice
Directions:
Gingerbread House: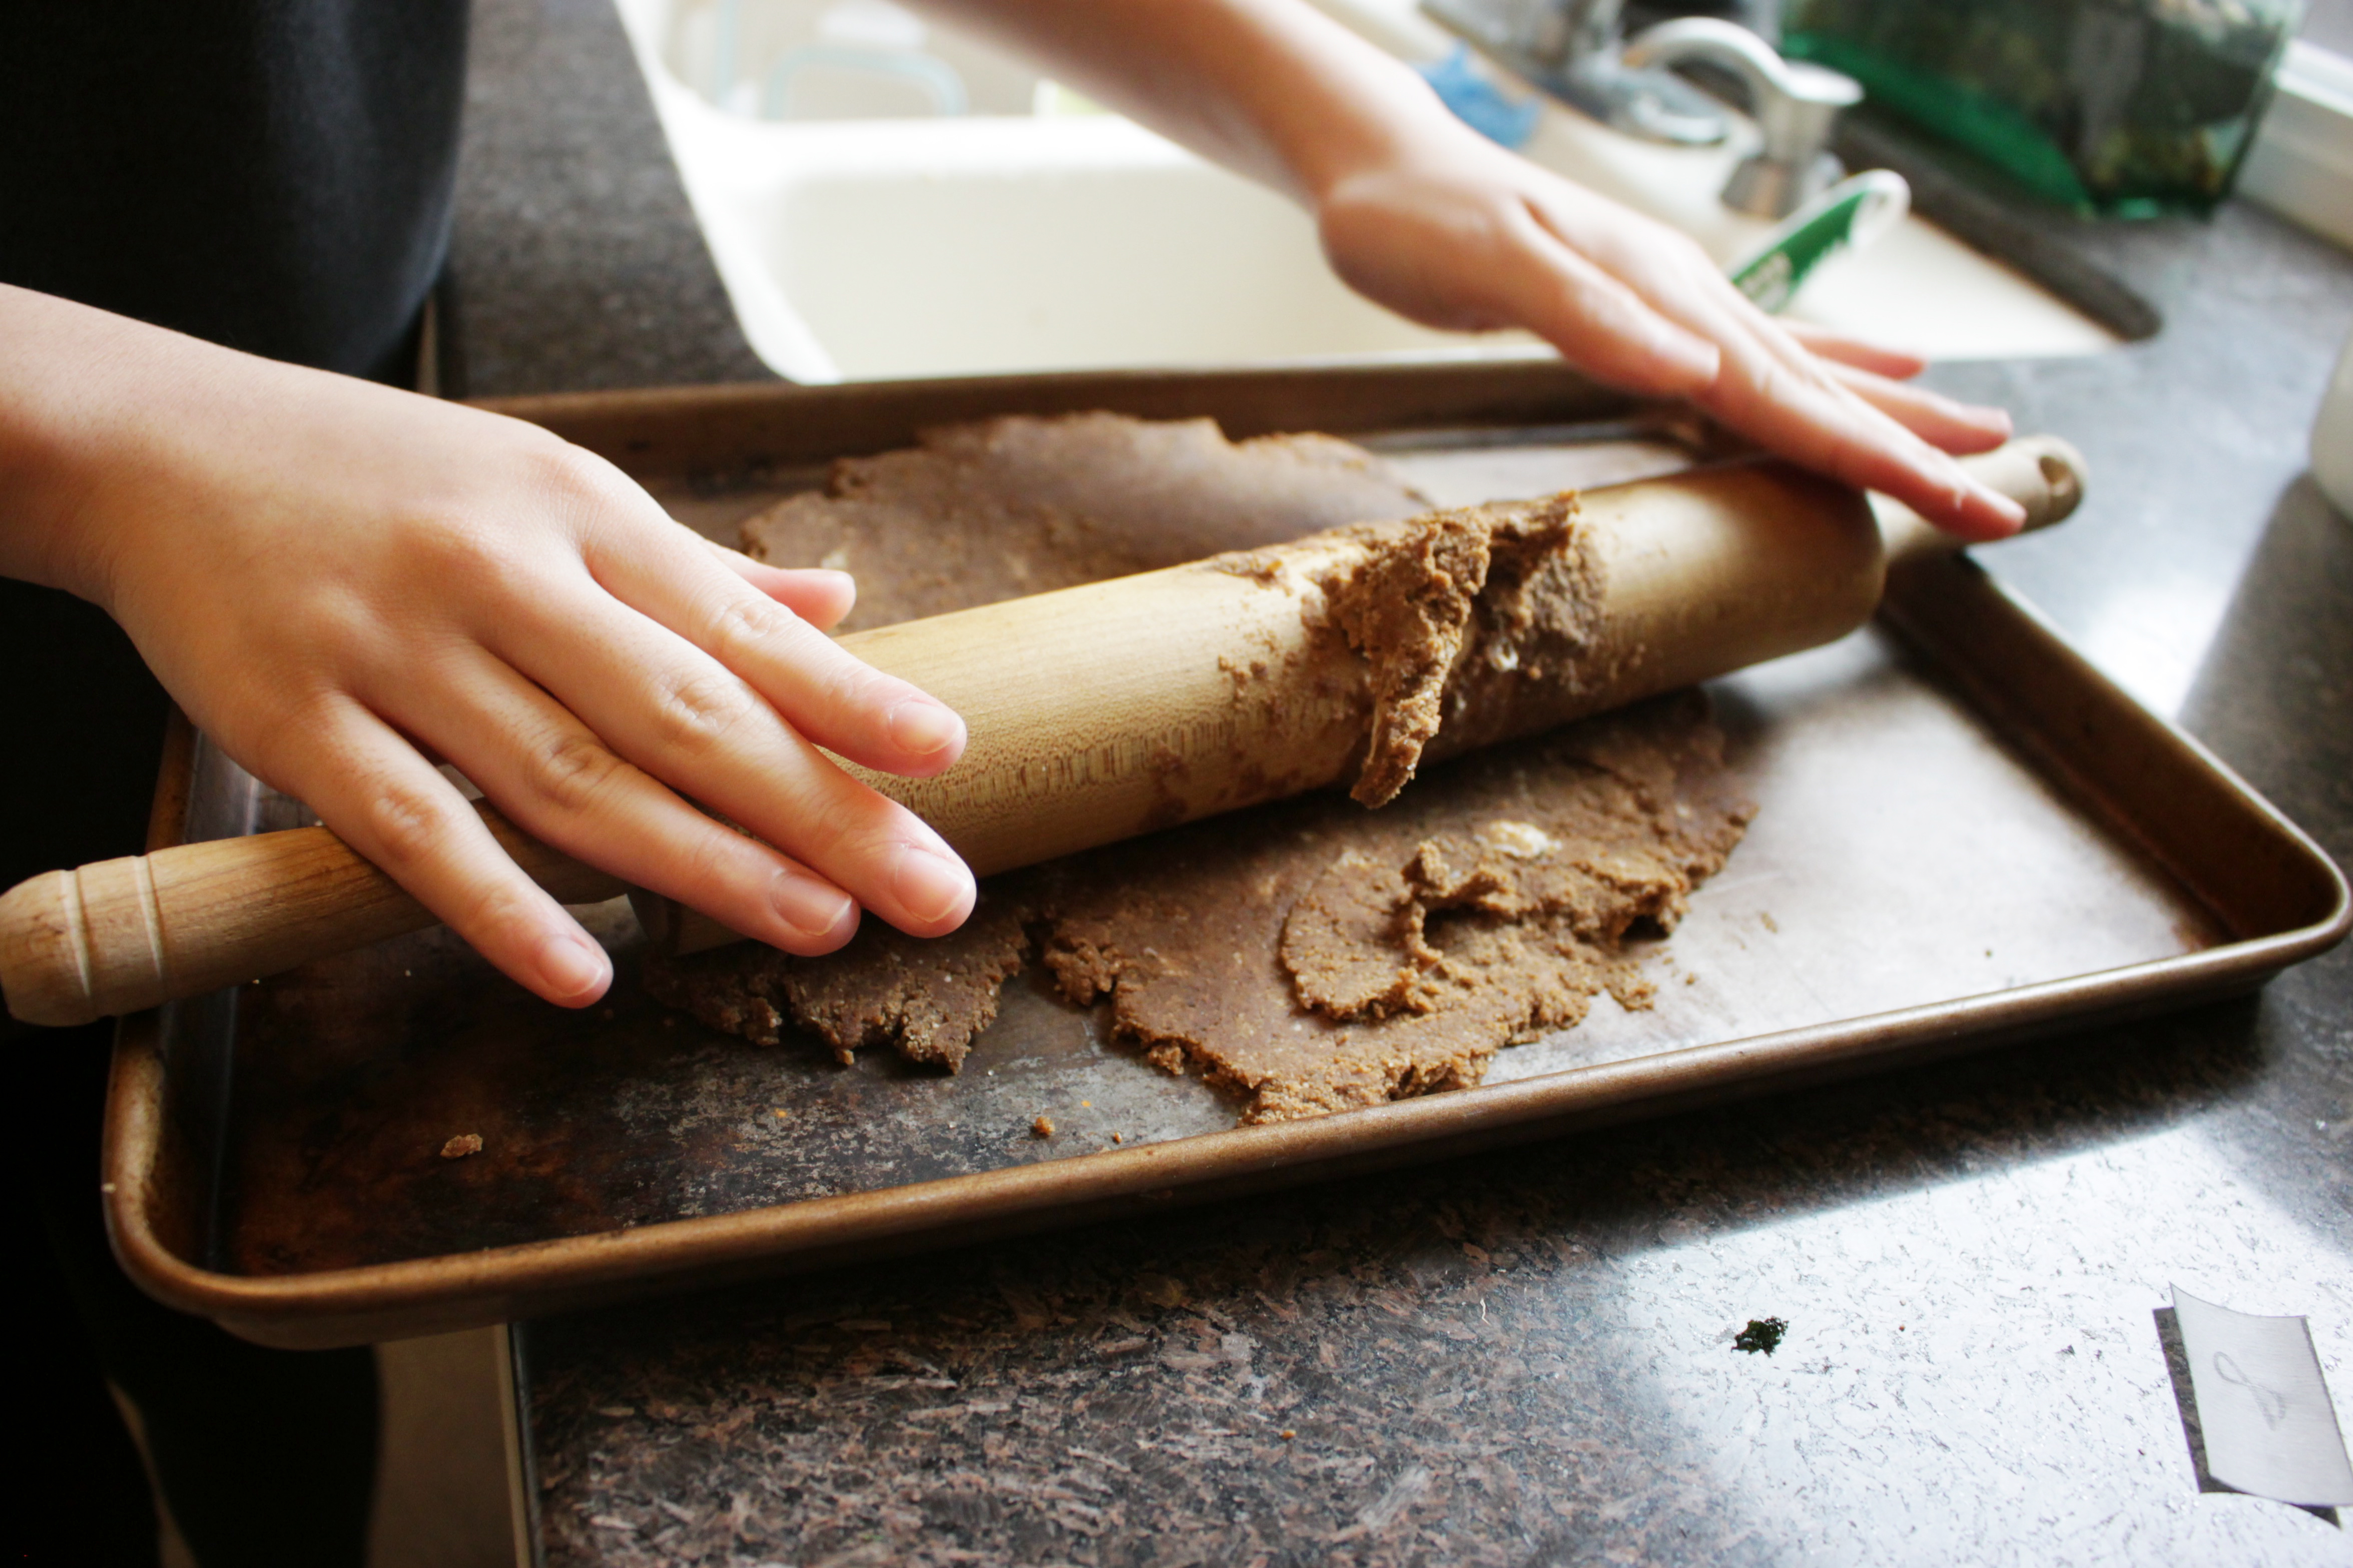
In a large mixing bowl, cream the butter, brown sugar, molasses, cinnamon, ginger, cloves and baking soda together until the mixture is smooth. Blend in the flour and water to make a stiff dough. Chill at least 30 minutes or until firm.
Preheat oven to 375 degrees F.
Cut out the following paper patterns for the gingerbread house template:
Two rectangles, 3 by 5 inches, to make the front and back of the house. Two rectangles, 3 by 5 1/2 inches for the roof. Two pieces for the ends of the house, 3 inches wide at the base, 3 inches to the roof line, and slanted to a peak 5 1/2 inches from the bottom. Four smaller rectangles, 1 1/2 by 1 inch for the roof and sides of the entryway. And one piece, 2 inches wide at the base, 1 1/2 inches to the roof line, and slanted to a peak 2 1/2 inches from the bottom for the front of the entryway.
Roll gingerbread dough out to edges on a large, rimless cookie sheet. Place paper patterns onto the rolled out dough. With a sharp, straight edged knife, cut around each of the pieces, but leave pieces in place.
Bake at 375 degrees F for about 15 minutes until dough feels firm.
Place patterns on top of the gingerbread again and trim shapes, cutting edges with a straight-edged sharp knife. Leave to cool on baking sheet.
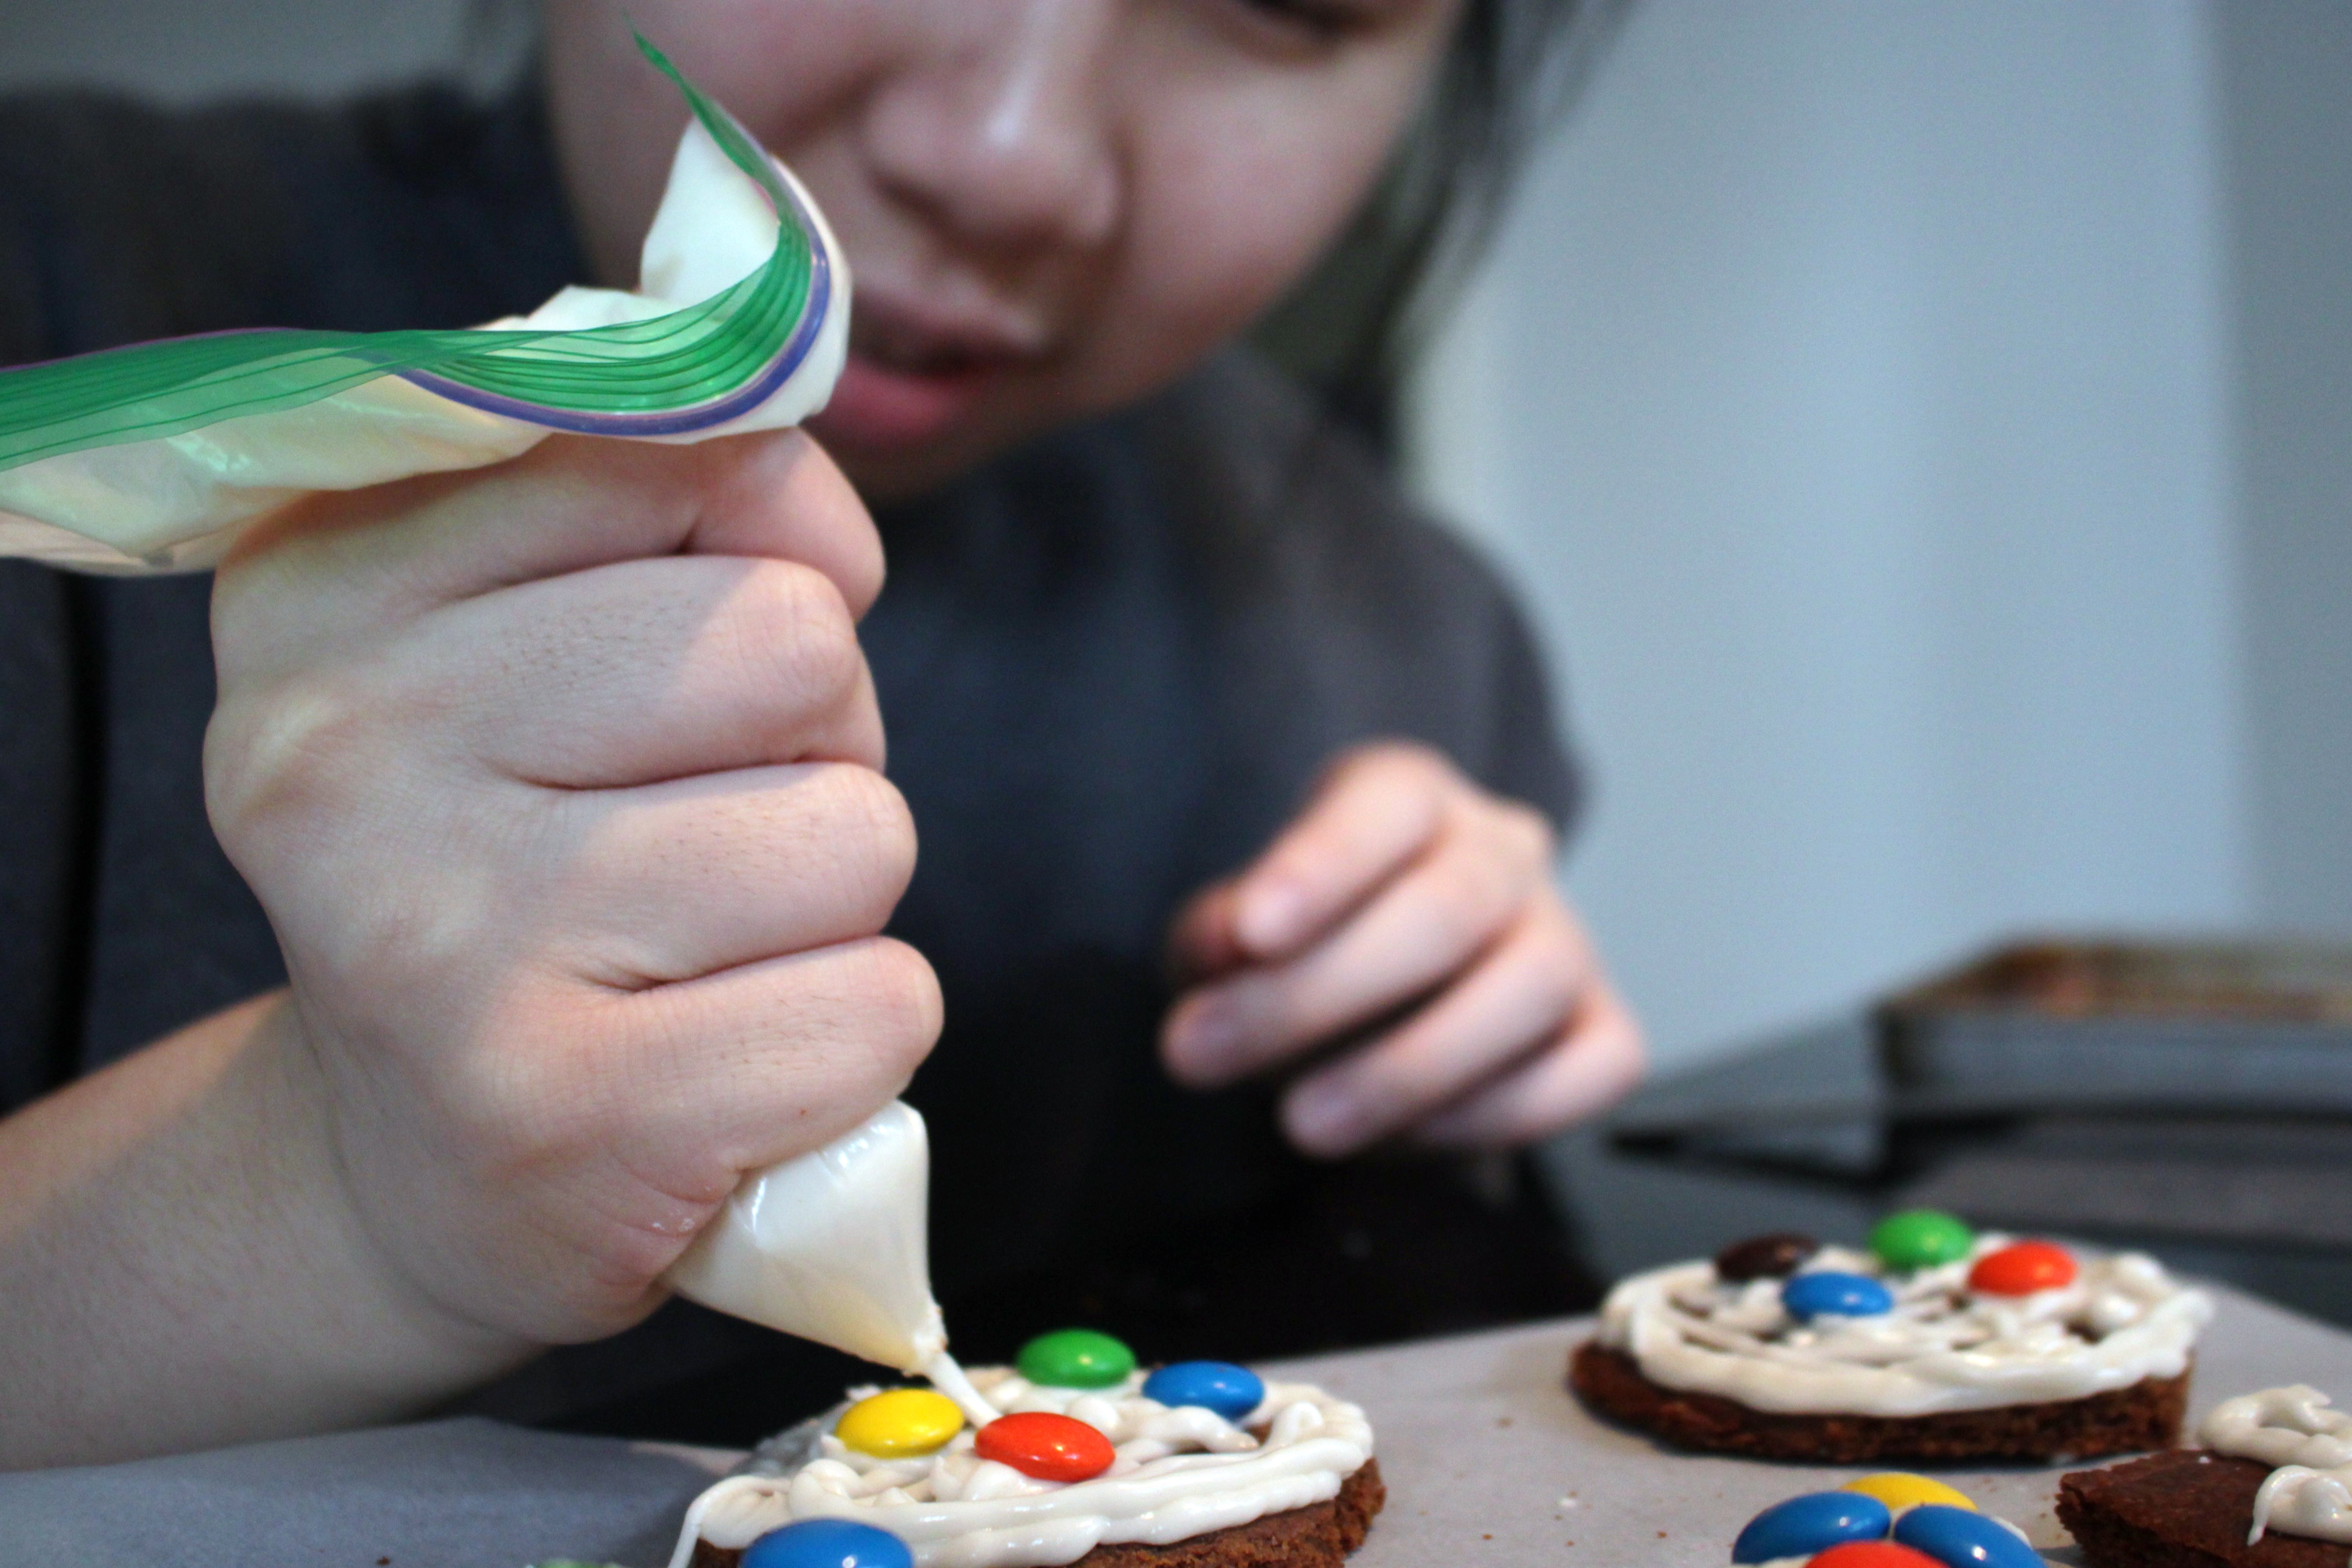
Place royal icing into pastry bag with a writing tip and press out to decorate individual parts of house, piping on decorations, windows, door, etc., as desired. Let dry until hardened.
Glue sides, front and back of house together at corners using royal icing. Place an object against the pieces to prop up until icing is dry (it only takes a few minutes).
Glue the two roof pieces to the pitched roofline of the house. Then, similarly, glue the sides and roof of the entryway together with icing. Attach the entryway to the front of the house.
Continue decorating the house, glueing on gumdrops, licorice and peppermint, as desired.
Royal Icing:
Mix all of the ingredients together using an electric hand mixer, until the icing is smooth and thin enough to be pressed through a pastry bag with a writing tip. Add more lemon juice, if necessary.